Truenas and the Rebuild

Unfortunately I cloud not get the same type of case for the NAS as I had for the servers, dus to the dimensions, so I have chosen the case as shown below.

The case can easily fit 8 disks, which is enough for what I want to do with it. To save money I re-used the disks that were already in the server, and organized them in the following way:
– 2x 3TB disk in raid1, to be used for data from Proxmox
– 2x 4TB disk in raid1, to be used for data storage and backups
– 2x 6TB disk in raid0, to be used for media

The Proxmox pool disks I want to replace with SSD’s in the future, to get more speed.

The setup was fairly easy to do, as was the rebuild, and now I can move the 3 remaining important services (rsync, Time Machine and samba server) to the NAS.

In the next posts I will tell more about the individual services in more detail.

This is the (for now) finished rack:

Proxmox + First Applications

So why did I choose to go for Proxmox you might ask. Of course this is very personal, but I will share my reasoning behind it:

Kubernetes
You cannot ignore it, as it is heavily used all around us, but it was a bit too professional for me in the sense that it took al lot of work to get it running and I could not get comfortable enough to have it in my home network.

Docker
Docker I was comfortable with, and switching from a single docker node to a docker swarm was reasonably easy. But as you go along, you want some applications to have an IP address on the network instead of the swarm address. You maybe want the swarm to have a single IP for the nodes to access your services running on one of them. We used keepalived and macvlan, which worked, but it was not stable for some reason.

Proxmox
Having looked at a few YouTube channels, I learned about Proxmox, and decided to look into it. Following the training on “Learn Linux TV”, I could see the potential for my home network, being able to do both Docker and Virtual Machines. Also the possibility to have multiple Proxmox nodes in a cluster and then make applications High Available was very appealing to me.

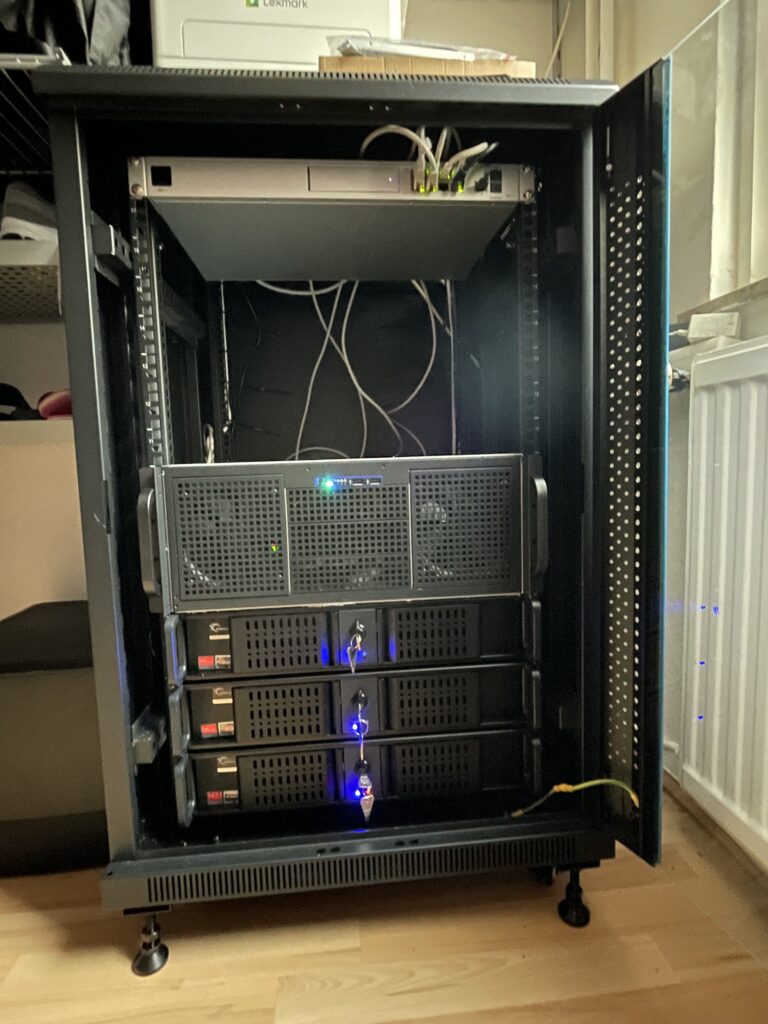
Moving the important services . . .
So now I had three Proxmox nodes in a cluster, it was time to migrate some important applications in order to free up the main server, so this could be build into a NAS, and in the process free up the swarm nodes, who will move to my son for his own server projects.

  • On the main server we had Nginx Proxy Manager running, moved that to Proxmox
  • On the Swarm we had Vaultwarden running, moved that to Proxmox
  • On the Swarm we had Owncloud running, moved that to Proxmox

We also had a rsync server, timemachine and samba server running on the Swarm, but these can all be moved to Truenas, so we need to leave the swarm running a little bit longer . . .

The rack is in place . . .

It took some strength to get the cabinet up the stairs and in its final spot, but in the end it was all worth it. I used some L-Profiles to support the servers, as this is much cheaper than rails (rails around 70 euro’s, 2 L-Profiles around 12 euro’s). The cabling is still a bit messy, but I will have this sorted at some point in time.

The cabinet as it is shown in the picture uses around 100W, and the temperatures of the servers stay below 30 degrees (with the door closed). I have some stuff running on the servers , but that is covered in later posts.

The power is organized with two (one on each side) power strips. Be aware of the space you have in the back . . .

The Cabinet

This turned out to be somewhat more difficult than anticipated. It is not as standard as you might think, and there is a lot to consider dimensioning wise. So it is good to know that you need to watch out for the depth of the server cases in relation to the depth of the cabinet. Also that there are cabinets that are not 19 inch wide, as I found out when it arrived and it turned out that I did not check this well enough at the site.

This is the cabinet I have ordered:

With a dimensioning of 60x60x100cm it is not too big and with 18U rack space it has more than enough room for the project:
– Unify Dream Machine Pro – 1U
– 3 times server case (2U) – 6U
– NAS case – 4U
– Test Server – 2U
– Possibly a Unify router – 1U

Which leaves 4U . . .

The cabinet is very nice. It has wheels, and stands. I use two stands in the front to prevent the cabinet from rolling. It has a glas door at the front and a metal door at the back, both lockable with a key. Both the side panels are also removable and can be locked with a key.

WordPress Appliance - Powered by TurnKey Linux